WordPress is the Best platform for making a business-based site. Its user-friendly interface and ease of use make it the go-to option for many website owners. One of the great things about WordPress is that it offers a wide range of features and functionalities that can be customized to meet your specific needs. One of the most important of these features is the ability to allow users to upload media to your website.
In this blog, we’ll take a look at how to efficiently manage media uploads by users on a WordPress business site. WordPress website development services We’ll cover everything from setting up user roles and permissions to managing media files and ensuring that your site is secure.
One of the key features of WordPress is its ability to allow users to upload media such as images, videos, and audio files to their websites. However, managing user-generated media uploads can quickly become overwhelming, especially for businesses with high traffic and frequent user activity.
In this guide, we will discuss some simple and effective strategies for managing media uploads by users on WordPress business sites. From setting up user roles and permissions to implementing plugins and tools for automated moderation and organization of media files, we will explore various solutions that can help you streamline your media management process and ensure a seamless user experience for your visitors.
By following these best practices and utilizing the right tools, you can easily manage media uploads on your WordPress business site, save time and resources, and maintain the quality and consistency of your website’s content.
Set up User Roles and Permissions
The first step in managing media uploads by users on your WordPress business site is to set up user roles and permissions. custom WordPress development company Each role has a different set of permissions, so you’ll need to decide which roles you want to assign to your users.
To set up user roles and permissions, go to the Users section of your WordPress dashboard and click on Add New. WordPress website development services From there, you can create new users and assign them roles and permissions. For example, you may want to create a custom role for users who are allowed to upload media files. To do this, you can use a plugin like User Role Editor.
Install Media Plugins
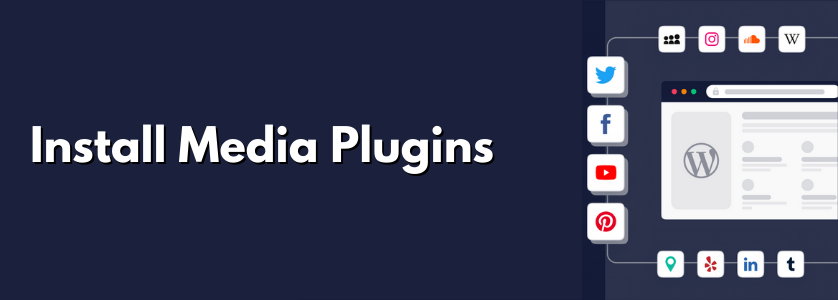
Once you have your user roles and permissions set up, you’ll need to install media plugins to manage the files that users upload to your site. Many different media plugins are available for WordPress, so you’ll need to do some research to find the ones that best meet your needs.
One popular media plugin is NextGEN Gallery.
This plugin allows you to create galleries of images and other media files that can be easily managed and displayed on your site. custom WordPress website development services It also includes features like watermarking, batch uploading, and social media sharing. Another popular media plugin is WP Media Folder.
This plugin allows you to organize your media files into folders, making it easy to find and manage them. It also includes drag-and-drop uploading, image resizing, and image compression.
Set Upload Limits

To ensure that your site stays secure and doesn’t become overloaded with large media files, you’ll need to set upload limits for your users. You can do this by going to the Media section of your WordPress dashboard and clicking on Add New.
From there, you can set the maximum file size and the maximum number of files that users are allowed to upload. WordPress website development services You can also set limits on the types of files that users can upload, such as images, videos, or documents.
Use Cloud Storage
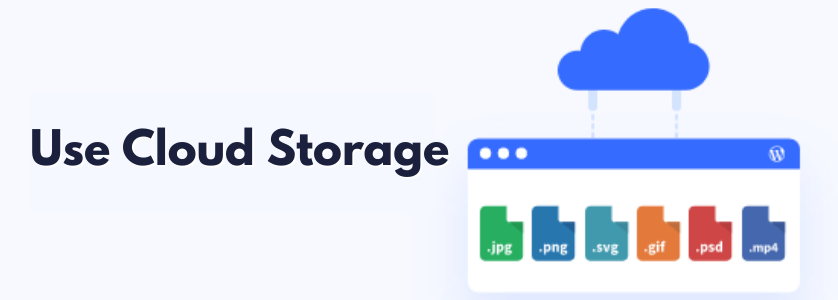
If you’re concerned about running out of storage space on your web hosting server, you may want to consider using cloud storage to manage your media files. Cloud storage services like Amazon S3, Google Cloud Storage, and Dropbox can be easily integrated with WordPress using plugins.
Using cloud storage has several advantages. First, it allows you to store large media files offsite, freeing up space on your server. Second, it provides an additional layer of security for your media files, as they are stored on secure servers maintained by the cloud storage provider.
Monitor and Moderate User Uploads
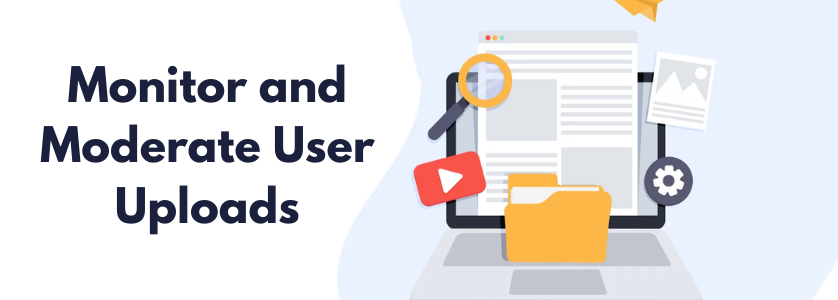
Even with upload limits in place, it’s important to monitor and moderate user uploads to your site. This will help ensure that your site stays secure and that inappropriate content is not uploaded.
To monitor user uploads, you can use plugins like WP Security Audit Log, which tracks all user activity on your site. You can also use plugins like User Role Editor to restrict user access to certain parts of your site.
To moderate user uploads, you can use plugins like Comment Moderation or Disable Comments to manage comments on your site.
Conclusion
managing media uploads by users on a WordPress business site can be a daunting task, but there are several ways to make the process easier. By implementing plugins like WPForms, Media Cleaner, and WP User Avatar, you can effectively manage media uploads by users on your website.
Additionally, it’s important to establish clear guidelines and policies for user-generated content to ensure that all media uploaded to your site is appropriate and relevant to your business. WordPress website development services By following these tips and utilizing the right tools, you can streamline your media management process and ensure that your website remains organized and professional. If you are looking for Custom Web Application Development and want to Easily Manage Media Uploads by Users on your WordPress Business sites then contact 8therate.
Read More: How To Display Favorite Posts By Day, Week, And Month On WordPress Business Site?